
Bringing home a new houseplant, finding the perfect decorative pot, and watching it flourish is one of the most rewarding parts of urban gardening. However, as your green friends grow and thrive, they will eventually outgrow their current containers.
Reporting is a vital part of plant care, but it is also the moment that strikes the most fear into beginner plant parents. The thought of disturbing fragile roots, dropping dirt all over the apartment, or accidentally shocking the plant into a rapid decline can make you want to leave it in its original nursery pot forever.
In reality, reporting is simple, highly therapeutic, and entirely stress-free when you understand the correct techniques. If your favorite houseplant is looking crowded, root-bound, or thirsty all the time, here is your definitive, step-by-step guide to reporting without causing plant shock.
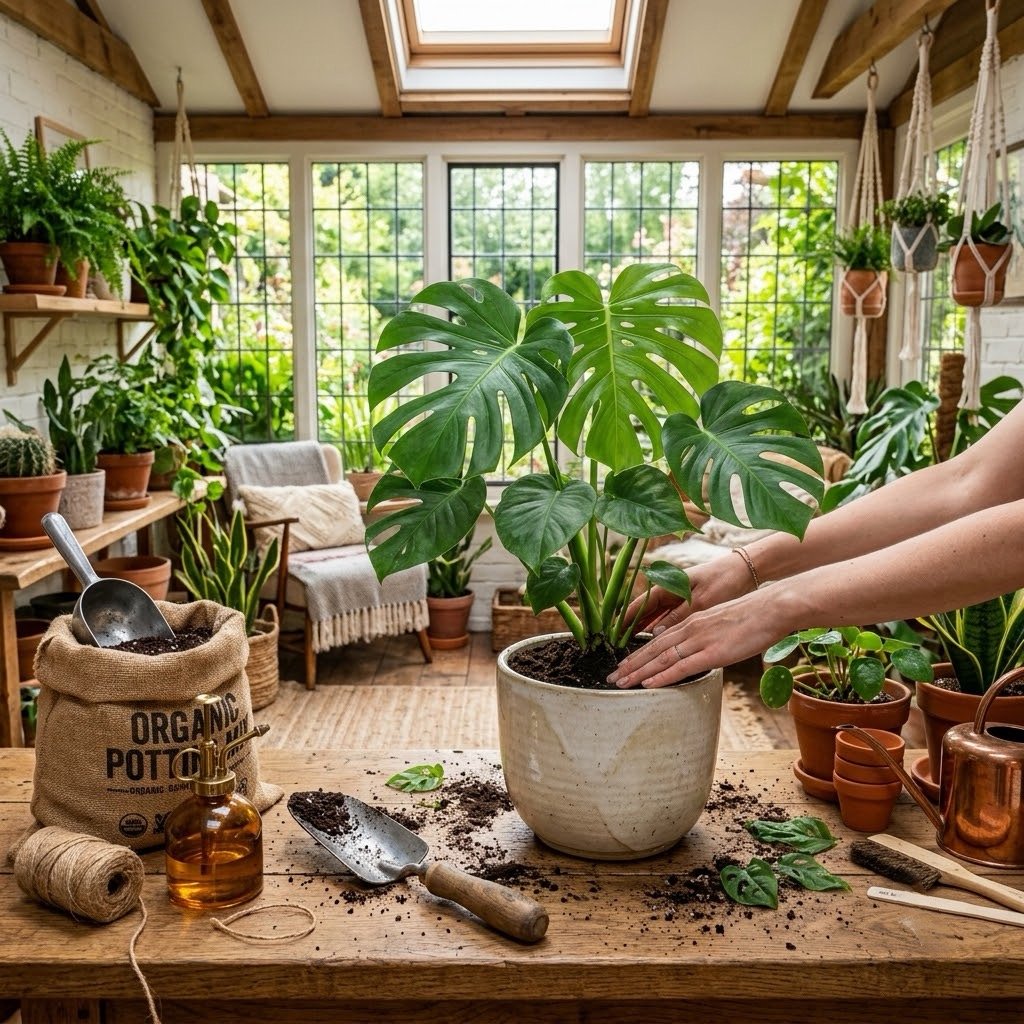
1. How to Tell When Your Plant Actually Needs Reporting
Before buying a larger pot, you need to confirm that your plant is actually ready for an upgrade. Reporting too often can stress a plant out, while waiting too long starves it of nutrients and space.
- Roots Growing Out of Drainage Holes: If you look at the bottom of your nursery pot and see thick, winding roots escaping through the drainage slits, it is time.
- Stunted Growth: If your plant used to grow rapidly during the spring and summer but has completely stalled out despite receiving adequate light and water, its roots likely have no room left to expand.
- Rapid Drying Out: If you find yourself having to water the plant every single day because the soil dries out within hours, the pot is likely packed solid with roots rather than soil.
- The Lift Test: Gently grip the base of the plant and try to lift it slightly out of its pot. If the entire plant and soil mass comes out in one solid, tightly wound cylinder (a “root-bound” brick), it desperately needs more room.
2. Choosing the Right Size Pot
The biggest mistake beginners make when reporting is upgrading to a massive pot in hopes of giving the plant “room to grow.”
When you place a small plant into a giant pot, the vast amount of extra soil holds onto too much water for far too long. The roots cannot drink it all, leading directly to stagnant soil, lack of oxygen, and fatal root rot.
- The Golden Rule: Always select a new pot that is only 1 to 2 inches larger in diameter than the current pot. This gives the roots just enough room to expand comfortably without overwhelming the system.
- Drainage is Mandatory: Ensure your new pot features at least one solid drainage hole at the bottom.
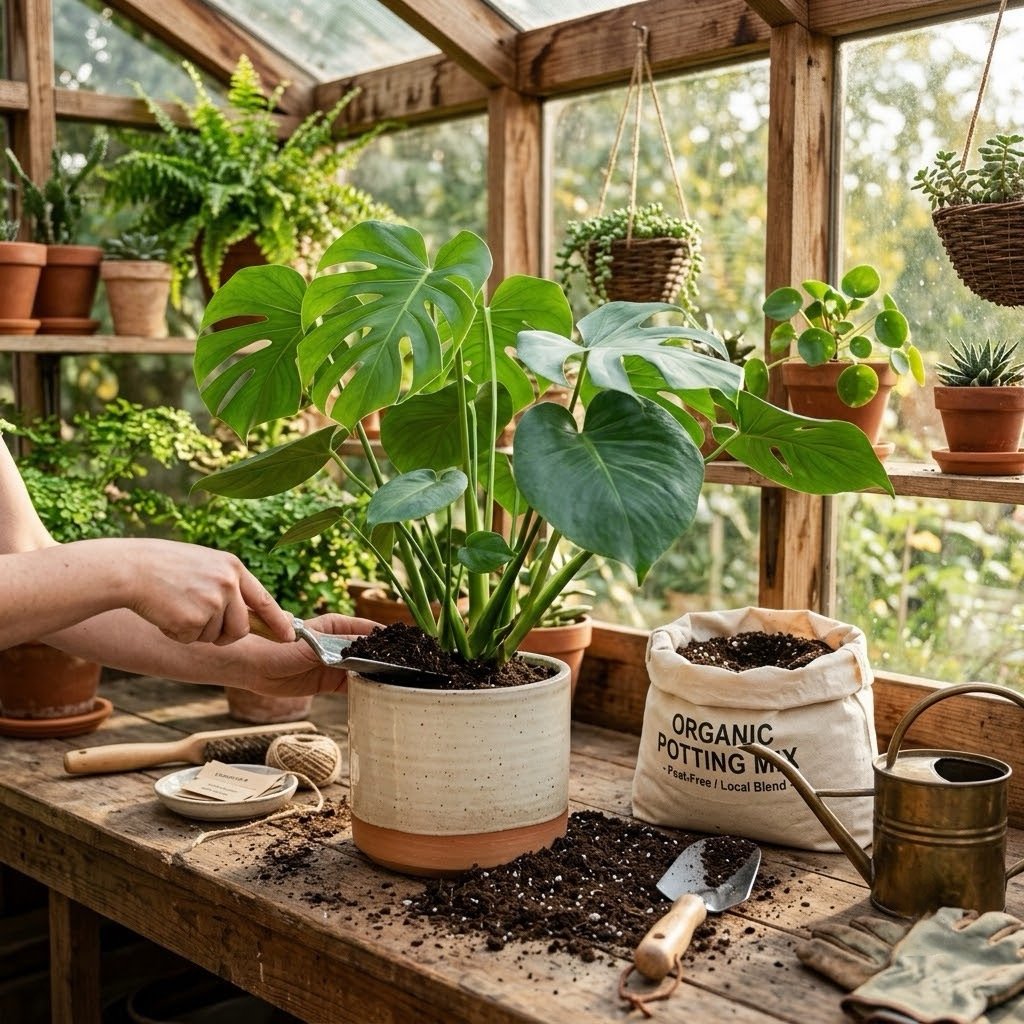
3. Preparing Your Soil and Workspace
Lay down some old newspapers or an old sheet on your floor or table to catch any stray dirt.
Never use heavy dirt straight from your outdoor garden, as it packs down too tightly in containers and suffocates roots. Instead, use a high-quality, lightweight commercial indoor potting mix. Depending on your plant type, you can mix in a handful of per lite or orchid bark to ensure the soil remains airy and well-draining.
Step 4: Gentle Extraction and Root Massage
- Gently tip your plant sideways. Support the base of the stems with one hand, and squeeze or tap the sides of the old plastic nursery pot to loosen the root ball.
- Slide the plant out carefully. If it is stubborn, never yank the stem; gently run a butter knife around the inside rim of the pot to break the suction.
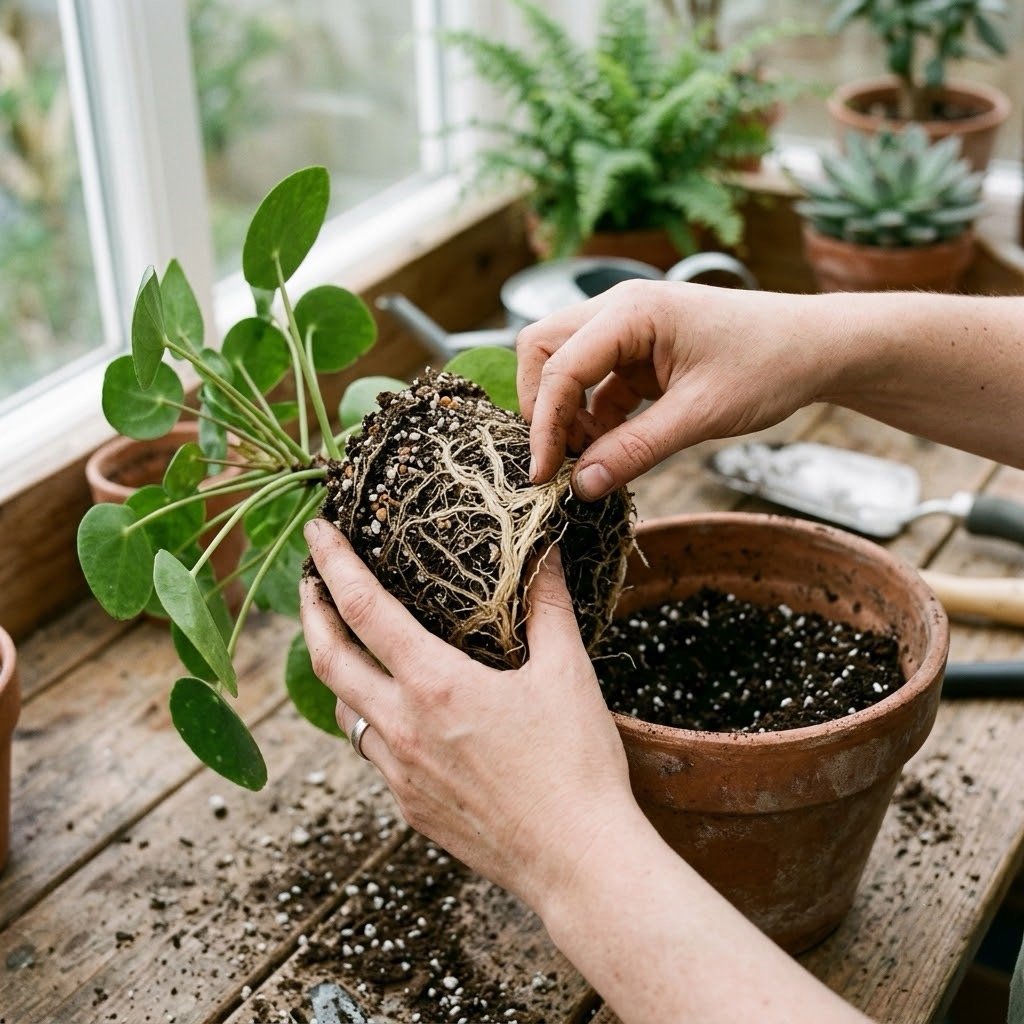
- Once the plant is out, use your fingers to gently tease apart any tightly wound, circling roots at the bottom (this is called “root bounding”). Loosening them slightly signals to the plant that it is free to grow outward into the new soil.
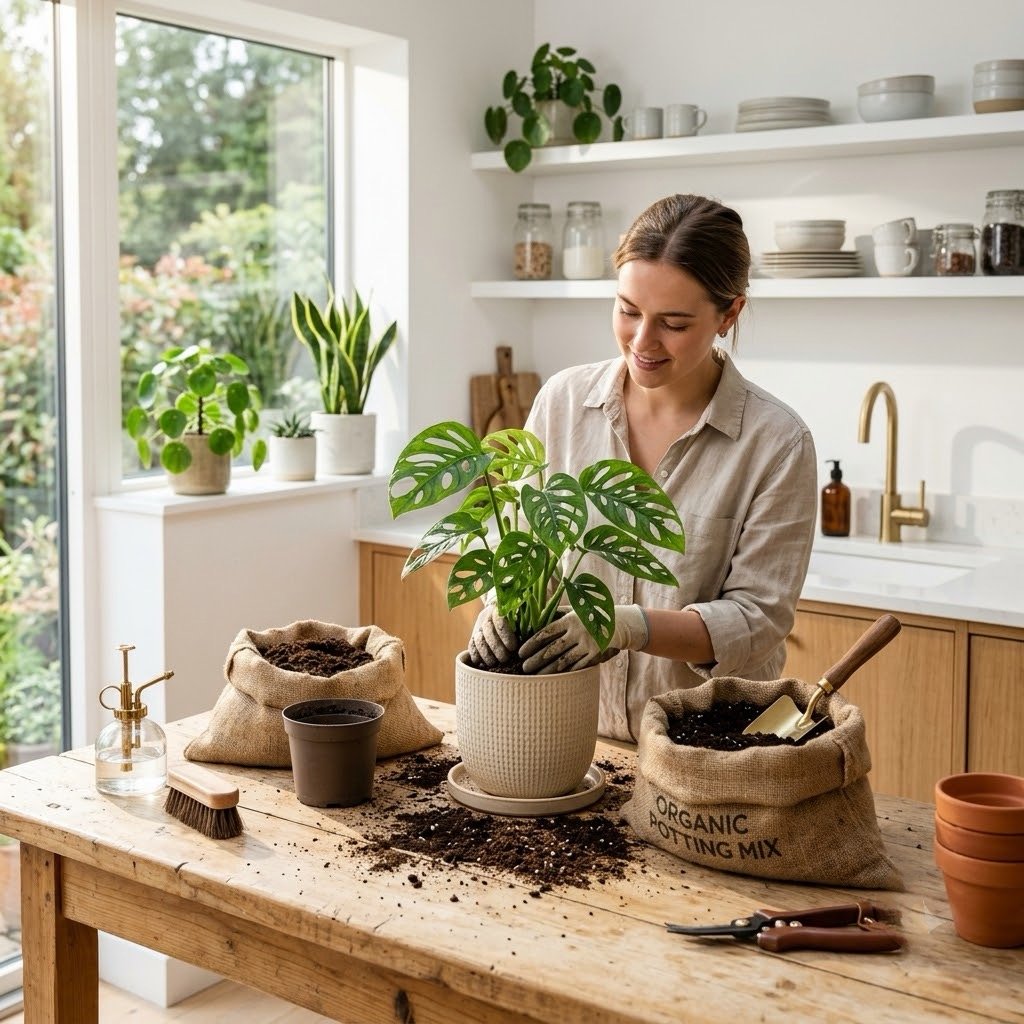
Step 5: Planting and Settling In
- Add a layer of fresh potting mix to the bottom of your new pot (about an inch or two), ensuring that when you place the plant inside, the top of the root ball sits about an inch below the rim of the pot.
- Center the plant in the pot and fill in the empty sides with fresh soil, tapping the sides of the pot gently as you go to settle the dirt and eliminate air pockets.
- Avoid packing the soil down too aggressively with your fists; you want the soil firm enough to hold the plant upright, but loose enough for oxygen to reach the roots.
Step 6: The Post-Reporting Watering
Give your newly reported plant a thorough, deep watering in the sink until water flows freely out of the bottom drainage holes. This crucial step settles the new soil around the roots, eliminating any remaining air gaps.
Place the plant back in its preferred lighting conditions and give it a little extra grace. It is completely normal for a plant to experience mild “transplant shock” for a few days as it adjusts to its new home, drooping slightly before bouncing back stronger than ever.
Pingback: How to Grow Microgreens Indoors: Ultimate Urban Gardening Guide
Pingback: #7 Hard-to-Kill Houseplants That Elevate Your Room Decor