
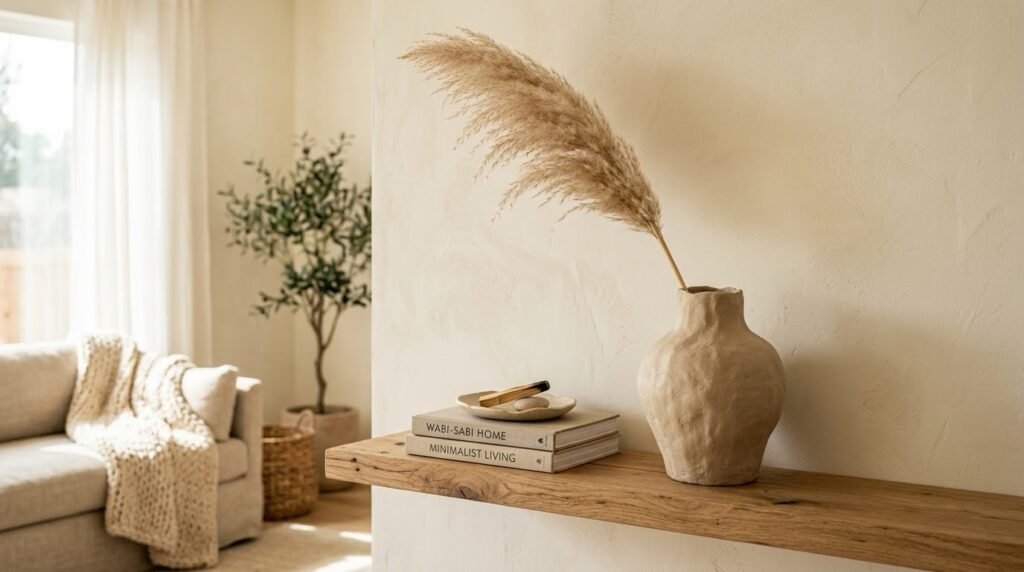
If you have browsed through any modern home decor catalog or interior design boutique lately, you have likely noticed a strong shift toward organic, sculptural silhouettes. Gone are the days of perfectly symmetrical, shiny glass vases; today’s aesthetic celebrates the “wadi-sabi” philosophy—finding beauty in imperfection, asymmetry, and raw, tactile finishes.
Sculptural vases with handles, rustic curves, and earthy textures instantly elevate a room, serving as standalone pieces of art even when empty. However, stepping into a high-end designer boutique to purchase one of these artisan ceramic vessels can easily cost anywhere from $70 to over $200.
Fortunately, you can recreate this exact luxury look at home for a fraction of the price using a surprisingly simple material: air-dry clay. You do not need a pottery wheel, a high-temperature kiln, or professional sculpting experience. Here is your comprehensive guide to crafting a custom designer-grade vase in a single weekend.
What You Will Need
One of the best aspects of working with air-dry clay is how minimal and accessible the required supplies are:
- Air-Dry Clay: Look for a high-quality, smooth clay (traditional gray-white or a warm terracotta/stone color) that hardens naturally when exposed to air.
- An Internal Glass or Plastic Base: Because air-dry clay is porous and not entirely waterproof when finished, you will need a small glass jar, bottle, or plastic cup to act as the inner water-holding core.
- A Rolling Pin or Flat Bottle: To flatten pieces of clay for handles or textured wraps.
- A Small Bowl of Water: Essential for smoothing seams, joining clay pieces, and keeping the clay workable.
- Fine-Grit Sandpaper: To smooth out imperfections once the clay is completely dry.
- Matte Acrylic Paint: To give your finished piece that high-end stone or ceramic finish.
Step 1: Securing Your Base Structure
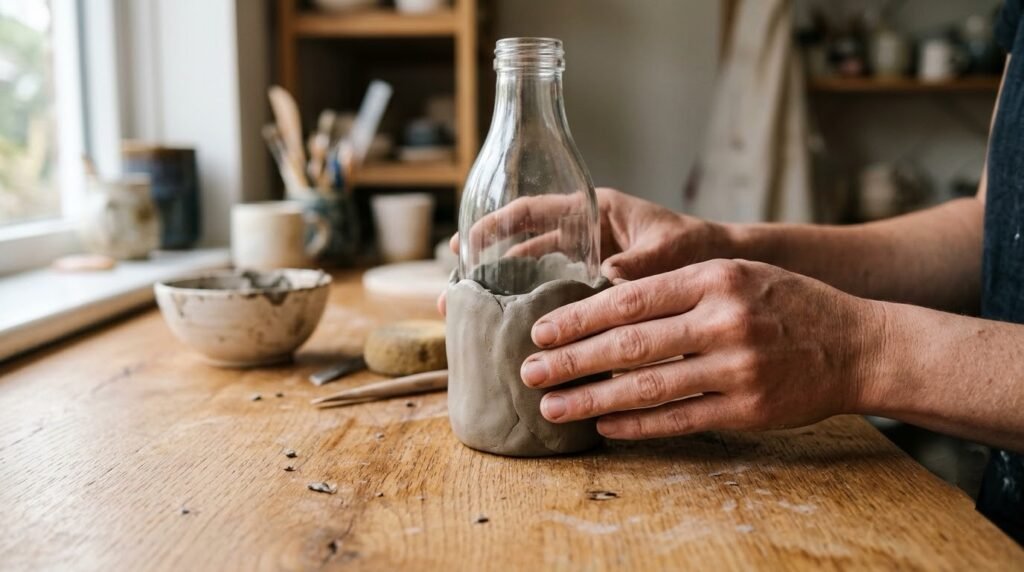
While you can sculpt a purely solid clay vase, air-dry clay can crack as it dries if pieces are too thick, and it will not hold water safely on its own. The professional secret to building a sturdy air-dry clay vase is using an inner armature.
Take a clean glass bottle or jar (like an old olive oil bottle or a mason jar) and place it upright on your work surface. This inner container will hold your future flower stems and water securely, while the clay exterior provides the sculptural, high-end exterior.
Step 2: Wrapping and Shaping the Body
Take a large chunk of your air-dry clay and knead it in your hands for a minute to warm it up and remove any air pockets.
- Roll out slabs of clay using your rolling pin until they are about a quarter-inch thick.
- Wrap these clay slabs around your glass container, pressing them firmly against the glass so they adhere securely.
- Use your damp fingers to smooth out any seams where the clay pieces meet. If you want to add sculptural handles, roll out thick coils of clay, score (scratch) the attachment points with a fork, dab a little water on them, and press them firmly onto the sides of the vase.
Step 3: Embracing Imperfection and Texture
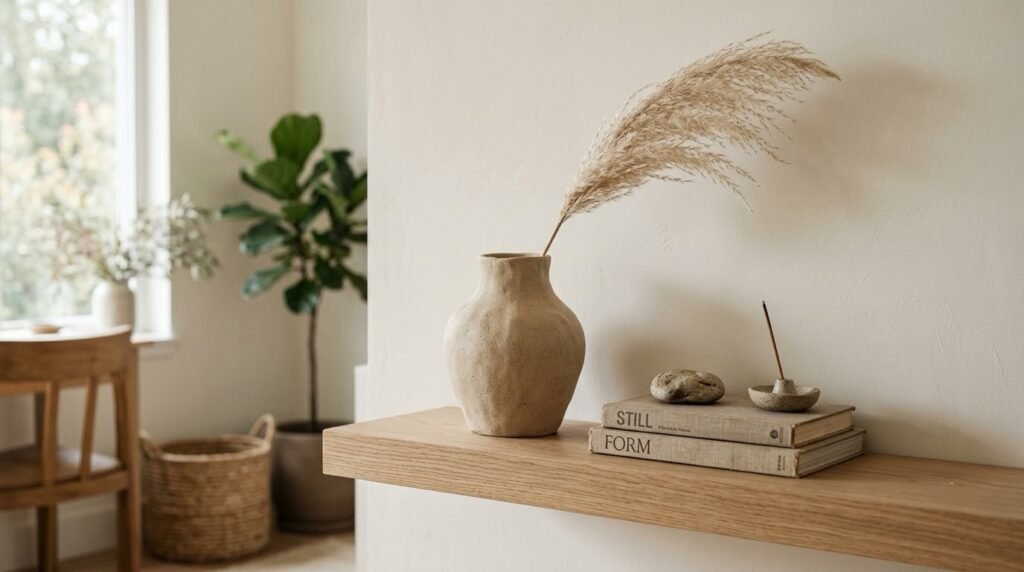
The beauty of this project lies in its handmade, organic nature. Do not stress over making the surface perfectly smooth or symmetrical.
Run your damp fingers across the clay to create subtle, rolling finger-dips and organic waves. You can wrap a piece of coarse burlap fabric around the wet clay and press gently to leave behind a gorgeous textile texture, or leave it smooth for a clean, minimalist architectural silhouette.
Step 4: The Crucial Curing Phase
Patience is your best friend during this stage. Once your vase is sculpted to perfection, place it in a safe, dry spot out of direct sunlight to cure.
Because air-dry clay loses moisture through evaporation, it needs time to dry evenly. Depending on the thickness of your clay and the humidity of your room, this will take anywhere from 48 to 72 hours. Do not try to rush the process with a hairdryer, as rapid drying will cause the clay to warp and crack severely. Rotate the vase halfway through the drying period so the bottom cures evenly.
Step 5: Sanding, Painting, and Sealing
Once your vase is completely dry to the touch and has turned a uniform light color, it is ready for finishing touches.
- Sanding: Take your fine-grit sandpaper and gently buff away any sharp edges, rough patches, or uneven bottom surfaces until the vase feels smooth and refined.
- Painting: To achieve that high-end ceramic look, paint your vase using a matte acrylic paint. Warm beige, creamy off-white, muted terracotta, or charcoal gray work brilliantly. (Pro tip: Mix a spoonful of baking soda into your acrylic paint, just like we did with the thrift flip, to create a stunning, gritty stone texture!).
- Sealing: Because air-dry clay can soften if it comes into heavy contact with water, apply two coats of a matte clear varnish or sealer over the entire exterior paint job. This locks out moisture and protects your artwork.
Styling Your Custom Vase
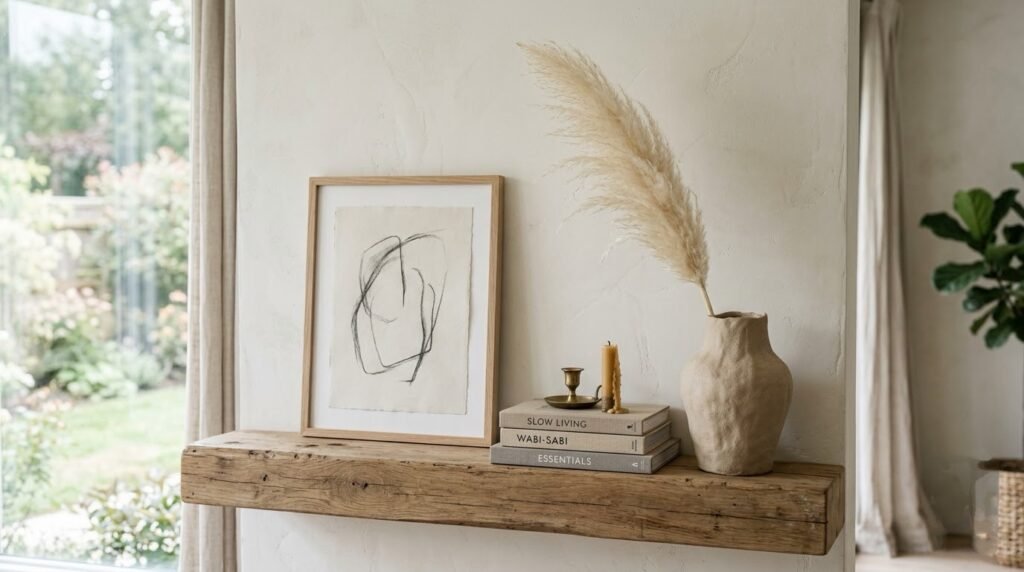
Place your newly crafted sculptural vase on a minimalist wooden shelf, style it atop a stack of neutral design books on your coffee table, or place a single dried eucalyptus stem or pampas grass plume inside. It adds an instant layer of bespoke, high-end warmth to your living space.