
Living in a small apartment without a traditional backyard can sometimes make you feel disconnected from the joy of growing your own food. However, urban gardening has evolved past the limitations of square footage. If you want to experience the instant gratification of harvesting fresh, nutrient-dense greens right from your kitchen counter without needing heavy soil or massive pots, micro greens are your absolute best option.
Micro greens are essentially the seedling stage of edible vegetables and herbs. Harvested just a couple of weeks after germination—once their first true leaves appear—these tiny powerhouses pack an intense punch of flavor and contain up to forty times more vital nutrients than their mature plant counterparts.
Best of all? You do not need a greenhouse, expensive equipment, or a green thumb. You can grow a thriving tray of micro greens right on your windowsill in less than two weeks. Here is your complete, step-by-step guide to mastering indoor micro green cultivation.
What You Will Need
One of the greatest benefits of growing micro greens is how minimal and inexpensive the required supplies are:
- Shallow Growing Trays: You will need a couple of small, shallow trays or containers (about 1 to 2 inches deep) with or without drainage holes. Reusable plastic takeout containers work brilliantly.
- Growing Medium: You can use a fine-textured, lightweight organic potting mix, or specialized hydroponic mats made of hemp or coconut coir.
- Micro green Seeds: Look for non-GMO seeds specifically packaged for sprouting. Popular starter varieties include radish (spicy and fast-growing), broccoli (mild and easy), arugula (peppery), and kale.
- A Spray Bottle: Essential for misting delicate seeds without washing them away.
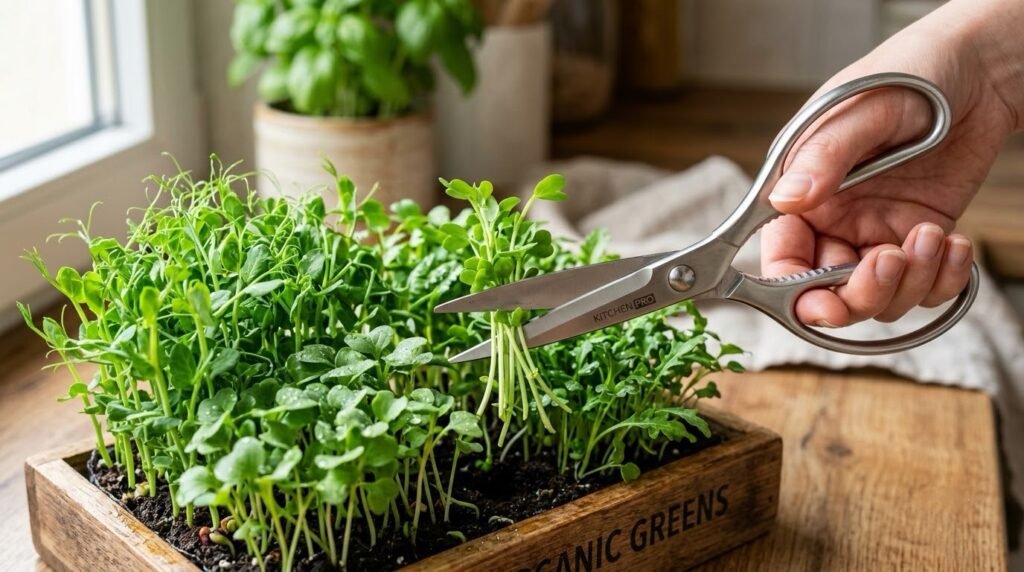
- Kitchen Scissors: For harvesting your crop.
Step 1: Preparing Your Growing Medium
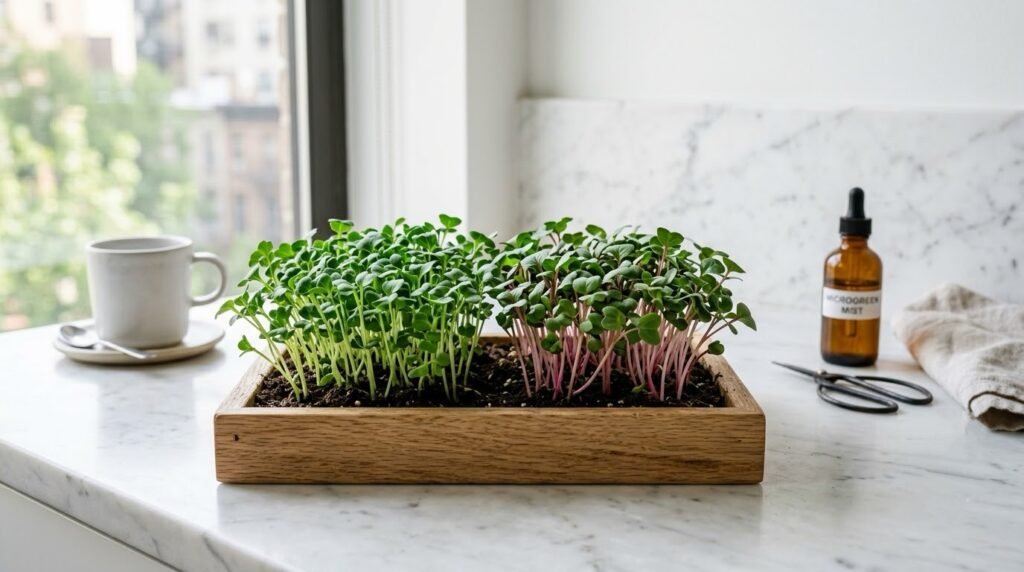
If you are using soil, fill your shallow tray to about three-quarters full with your organic potting mix. Gently press the surface down with a flat object (like the bottom of another tray or a small flat piece of wood) to create a firm, even, and smooth planting bed. Uneven soil will lead to patchy growth.
Give the soil a thorough misting with your spray bottle so it is evenly moist, but not soaking wet or muddy.
Step 2: Sowing the Seeds
Unlike traditional gardening where seeds are spaced far apart, micro greens are planted very densely. You want a carpet of seeds covering the entire surface of your soil, almost touching each other, but not overlapping heavily.
Sprinkle your seeds evenly across the tray. Once distributed, take your spray bottle and give the seeds another generous misting to help them settle into the moist soil surface.
Step 3: The Blackout Germination Period
This is the secret step that many beginners skip. Most micro green seeds need darkness, moisture, and gentle pressure to germinate successfully and stretch upward in search of light.
- Take a second, identical tray (or a piece of cardboard) and place it directly down on top of the seeds like a lid.
- Place a small weight—like a couple of heavy books—on top of the lid.
- Leave your trays in a dark cupboard or on the counter for 3 to 4 days. Check them daily and mist them with water if the soil feels dry.
When you remove the lid after a few days, you will be greeted by a dense forest of pale, yellow-green shoots reaching for the air. Do not panic about the pale color; they just need light!
Step 4: Providing Light and Bottom Watering
Once the blackout phase is over, move your uncovered trays to a bright windowsill that receives plenty of indirect sunlight. If your apartment lacks bright natural light, a simple LED grow light placed a few inches above the tray for 10 to 12 hours a day works wonders.
- Watering Technique: From this point forward, avoid watering from the top with a spray bottle, as heavy water drops can cause delicate stems to mat down and develop mold (a condition known as “damping off”). Instead, practice “bottom watering.” If your tray has holes, set it inside a slightly larger solid tray filled with a half-inch of water for 10 minutes, allowing the soil to drink from the bottom up. If your tray has no holes, gently tilt it and pour a small amount of water into the corner, letting it absorb.
Step 5: Harvesting Your Micro greens
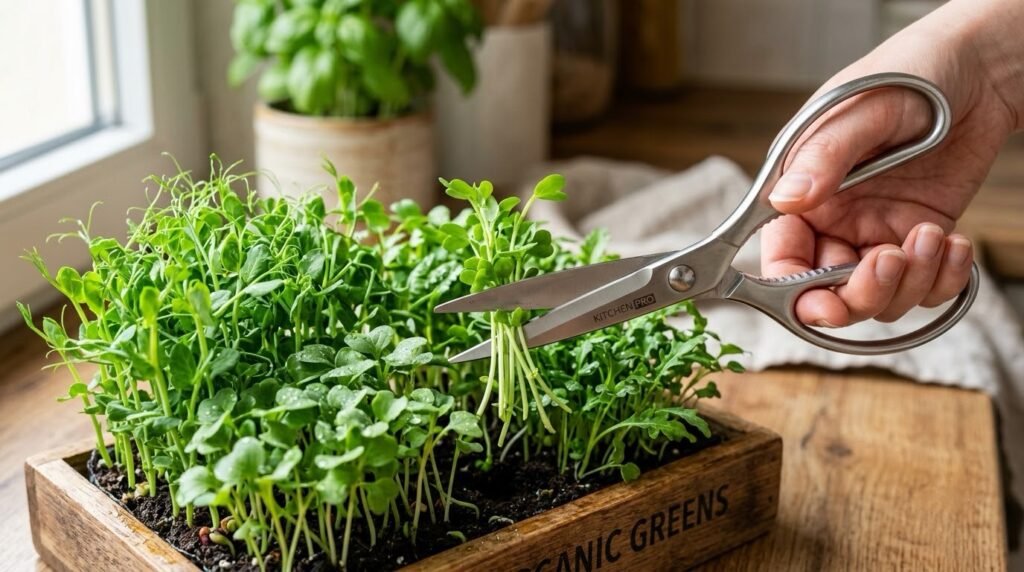
Your micro greens will grow with astonishing speed. Within 7 to 14 days after planting, they will reach a height of about 2 to 3 inches and develop their first set of “true leaves.”
When you are ready to eat, take a pair of clean kitchen scissors and snip the greens just above the soil line. Give them a gentle rinse in cold water, pat them dry, and they are ready to use.
How to Enjoy Your Harvest
Micro greens are incredibly versatile. Toss a handful over your morning avocado toast, scatter them across a warm bowl of soup, fold them into a fresh salad, or use them as an aesthetic garnish for your dinner parties.
Growing micro greens bridges the gap between home decor and sustainable urban living, giving you an endless supply of fresh, living food right from your apartment kitchen.
Pingback: The Ultimate Guide to Water Propagation Aesthetic Indoor Jungle