
There is a magical moment in every plant lover’s journey when you realize you can multiply your green collection for absolutely zero money. It feels almost like magic, but it is actually a simple botanical science called propagation.
Plant propagation is the process of creating new plants from existing ones using cuttings, division, or seeds. Not only is it an incredible way to expand your urban jungle without spending a dime on new pots, but watching those tiny roots emerge from a cutting in a glass jar is one of the most satisfying experiences in home gardening.
If you have ever wanted to turn one favorite houseplant into five, here is your definitive, beginner-friendly guide to water propagation.
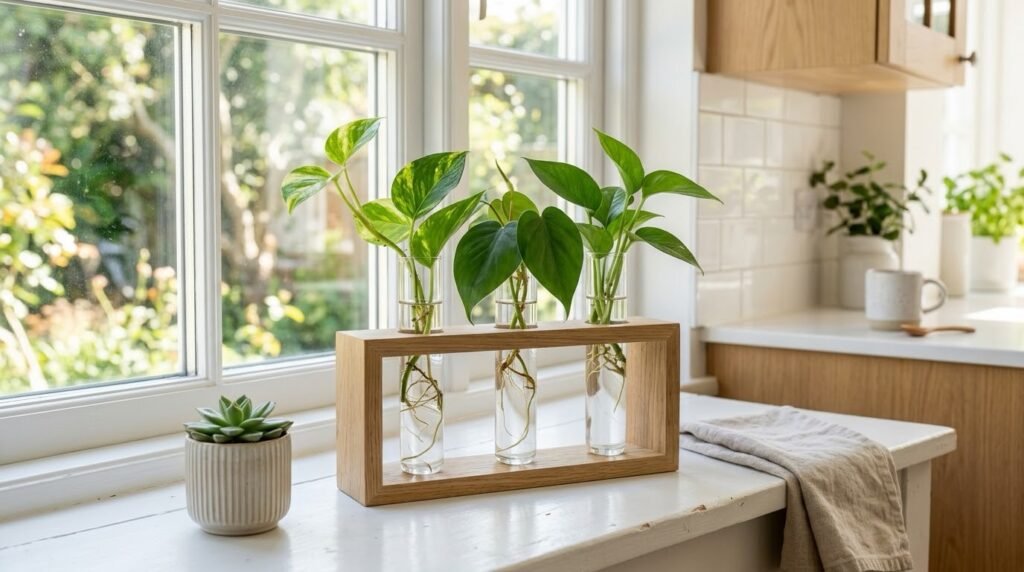
Step 1: Choose the Right Plant to Start With
If you are a beginner, do not start with finicky, high-maintenance plants. Start with varieties that naturally want to live and grow aggressively.
- Photos and Heart-Leaf Philodendron: The absolute gold standard for beginners. They grow roots in water faster than almost any other plant.
- Monsters Delicious: A bit more dramatic, but wonderfully rewarding when you successfully grow a massive, fenestration leaf from a simple stem cutting.
- Tradescantia (Inch Plant): Famous for its stunning purple and silver leaves, it roots easily in just a few days.
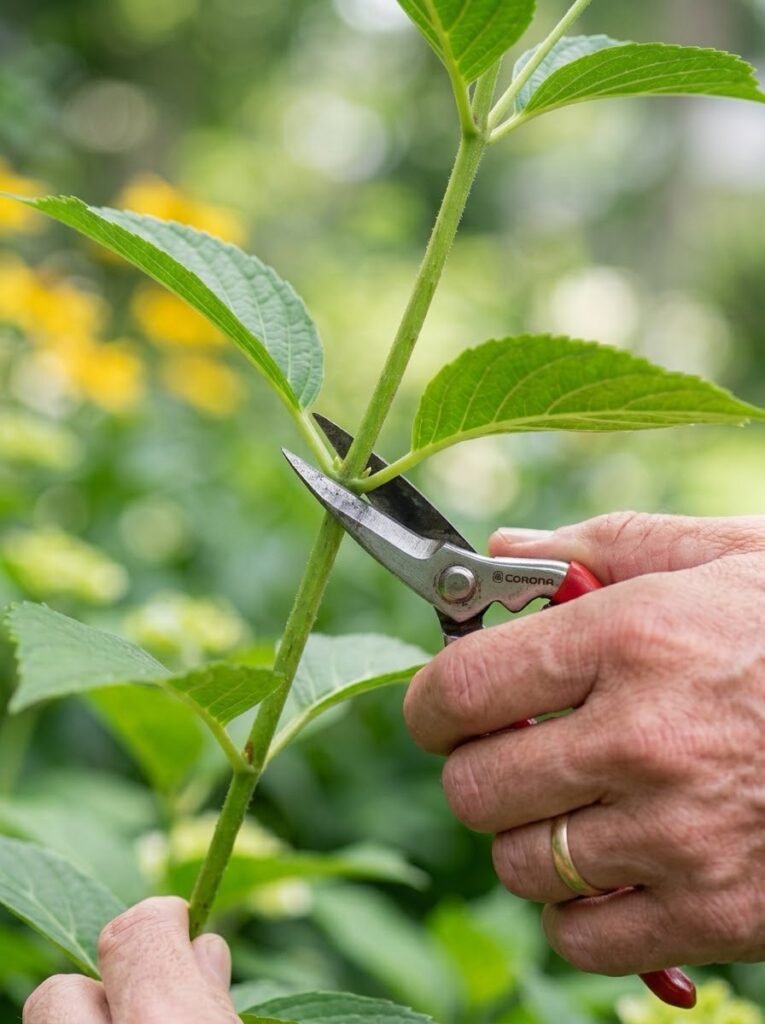
Step 2: Locate the Node (The Secret to Success)
This is the most critical step in the entire process. If you cut a plant incorrectly, it will never grow roots; it will simply rot in the water.
Look closely at the stem of your plant. You will see small bumps, swellings, or tiny brown root nubs along the stem, usually right below where a leaf attaches. This is called the node.
- Always make your cut about half an inch below a node using clean, sterilized sharp shears or scissors.
- Never pull or tear the stem by hand, as this crushes the plant tissue and invites bacteria.
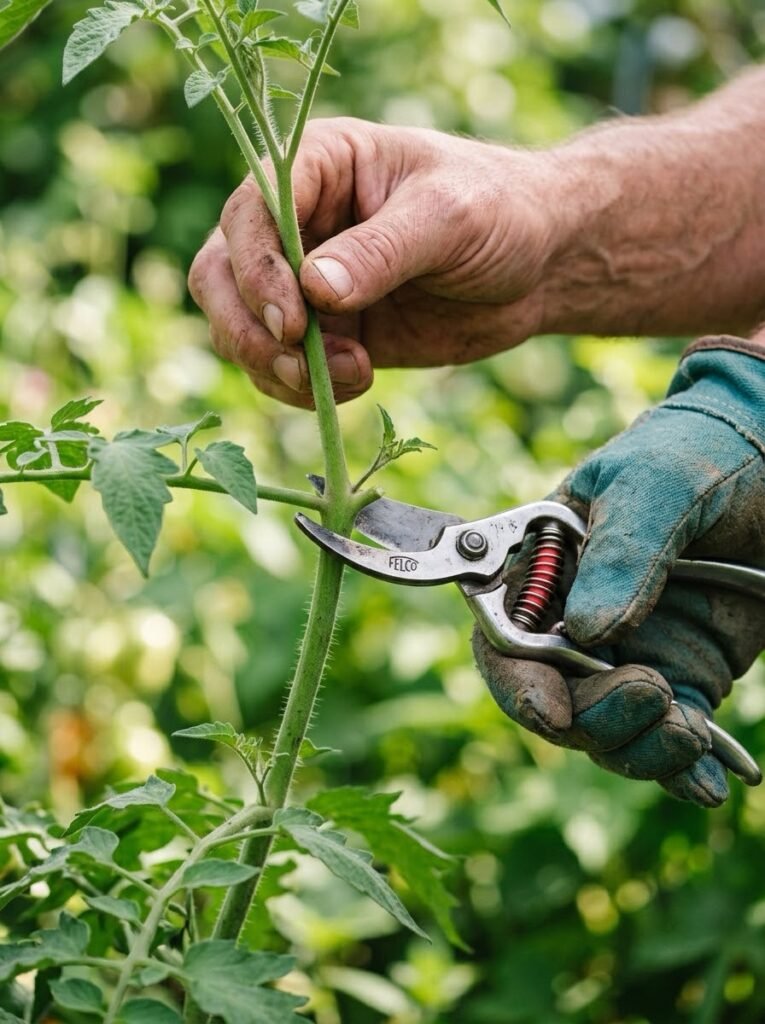
Step 3: Prep Your Cutting
Once you have snipped your stem cutting (aim for a length of about 4 to 6 inches with 2 to 3 leaves attached), remove any lower leaves that would sit below the waterline.
If leaves are submerged underwater, they will quickly rot, cloud the water, and cause the entire cutting to decay. Only the bare stem and the node should be submerged.
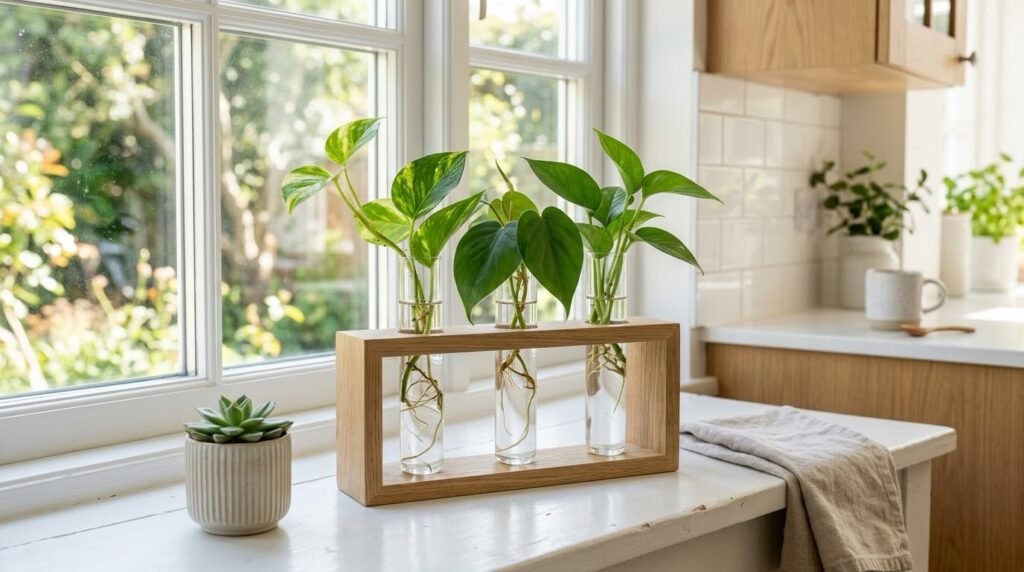
Step 4: The Water Propagation Station
Place your cutting into a clean glass jar, vase, or test-tube station filled with filtered or tap water.
- Lighting: Place your propagation station in a bright spot that receives plenty of indirect sunlight. Avoid harsh, direct afternoon sun, which can cook the delicate new roots and heat up the water too much.
- Water Maintenance: Change the water every 5 to 7 days to keep it fresh and oxygenated. If you notice the water getting cloudy or algae forming, wash the glass container thoroughly and refill it with clean water.
Step 5: Waiting and Planting in Soil
Patience is key here. Depending on the plant and the ambient temperature of your home, you will start to see tiny white root tips emerging from the nodes within 2 to 4 weeks.
Do not rush to plant them in soil right away! Wait until the secondary roots (the smaller roots branching out from the main ones) are at least 2 inches long. Once they reach this length, your cutting is strong enough to transition from water to a well-draining potting mix.
Keep the soil slightly extra moist for the first week after planting to help the water roots adjust to their new solid home.
The Takeaway
Plant propagation turns gardening from a casual hobby into an addictive craft. There is nothing quite like looking at a flourishing shelf of plants and knowing you grew every single one of them from a tiny clipping.
Pingback: Trending Casual Crafts: 5 Fun Projects for 2026