
There is a quiet, understated elegance that botanical elements bring to a home. Whether it is a potted olive tree in the corner or a vase of dried pampas grass, bringing nature indoors instantly grounds a space and adds organic warmth.
However, if you want to capture that timeless, botanical-study aesthetic without buying mass-produced prints from big-box stores, the most chic solution is to press your own flowers and foliage. Transparent, floating botanical frames have taken over high-end minimalist design blogs, adding a sophisticated, gallery-like touch to blank walls.
Best of all? This stunning DIY project costs almost nothing and turns a simple afternoon walk into a piece of high-end wall art.
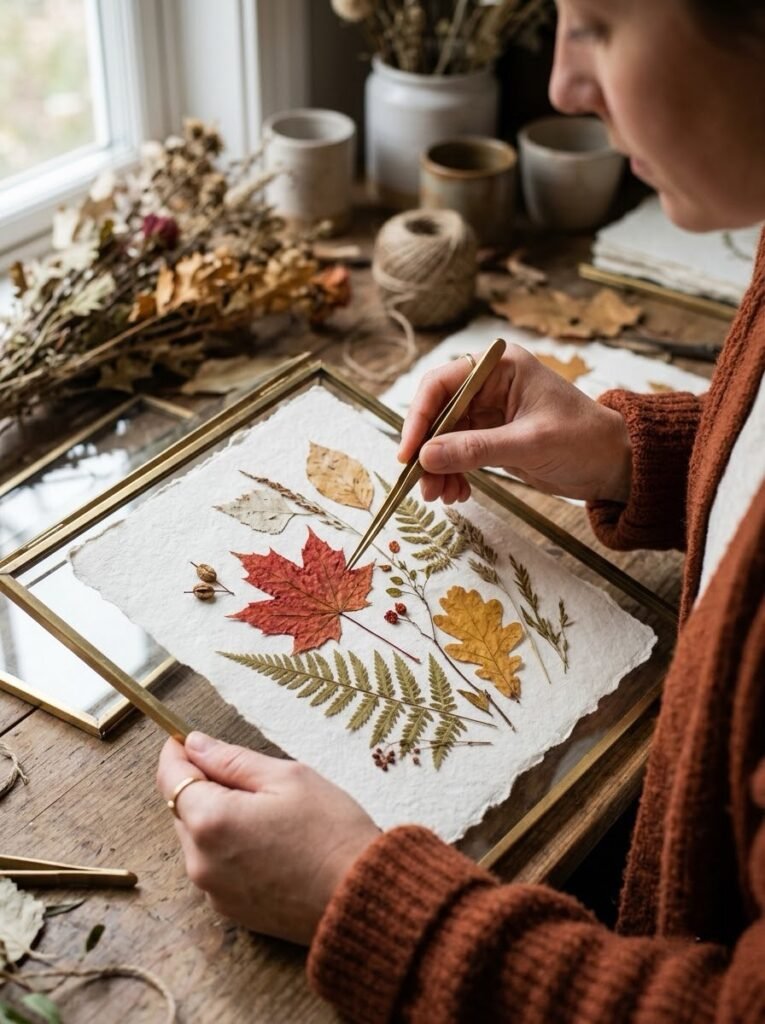
What You Will Need
- Floating Glass Frames: Look for double-pane glass frames with a brass, matte black, or wooden edge. These allow the wall color to peek through behind your plants, creating a stunning floating effect.
- Fresh Leaves and Flowers: Fern fronds, eucalyptus leaves, cosmos, or delicate ferns work wonderfully.
- Heavy Books: Traditional flower presses are great, but heavy textbooks or encyclopedias work just as well.
- Parchment Paper: To protect the pages of your books from moisture.
Step 1: Foraging and Selecting Your Botanical
The key to a modern, minimalist look is choosing the right plants. Instead of brightly colored, bulky bouquets, look for foliage with striking geometric shapes and muted tones.
Go for ferns with intricate fronds, delicate ginkgo leaves, or long, slender grasses. Ensure your selections are completely dry of any morning dew before you begin pressing them. If they are wet, they will mold inside the book rather than dry flat.
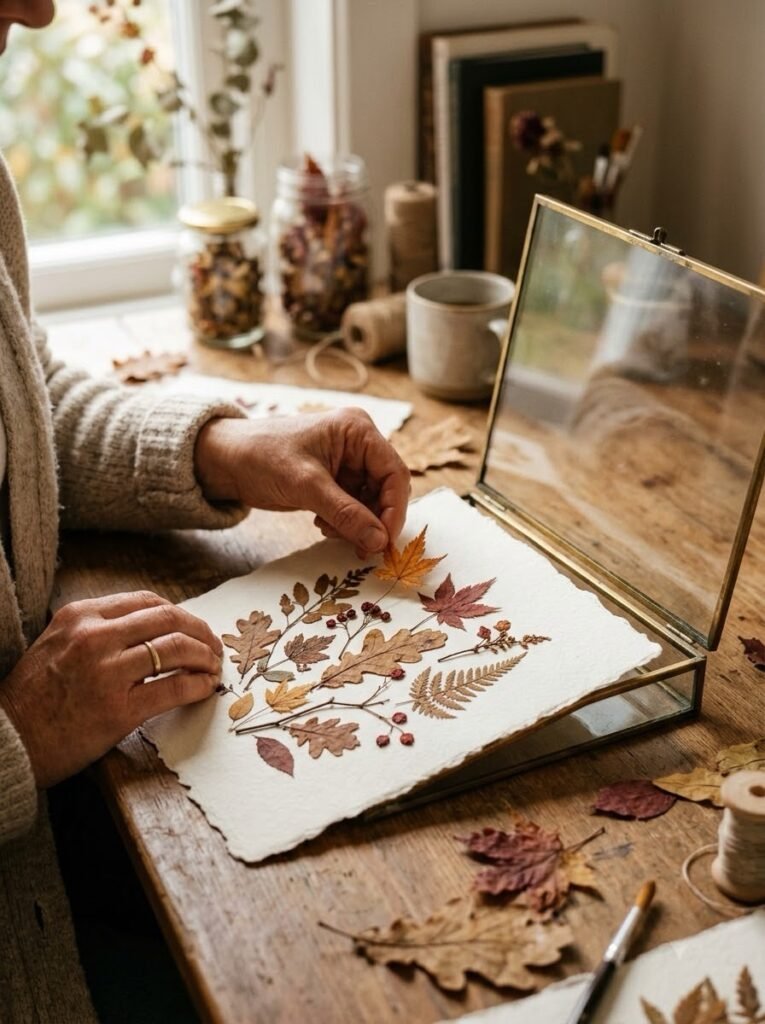
Step 2: The Pressing Process
Lay a sheet of parchment paper down inside a heavy book. Carefully arrange your flowers and leaves on the paper, making sure no petals or stems are folded or overlapping awkwardly.
Place another sheet of parchment paper over the top, close the book gently, and stack two or three more heavy books on top of it. Now, you wait. Leave the plants undisturbed for two to three weeks to dry and flatten completely.
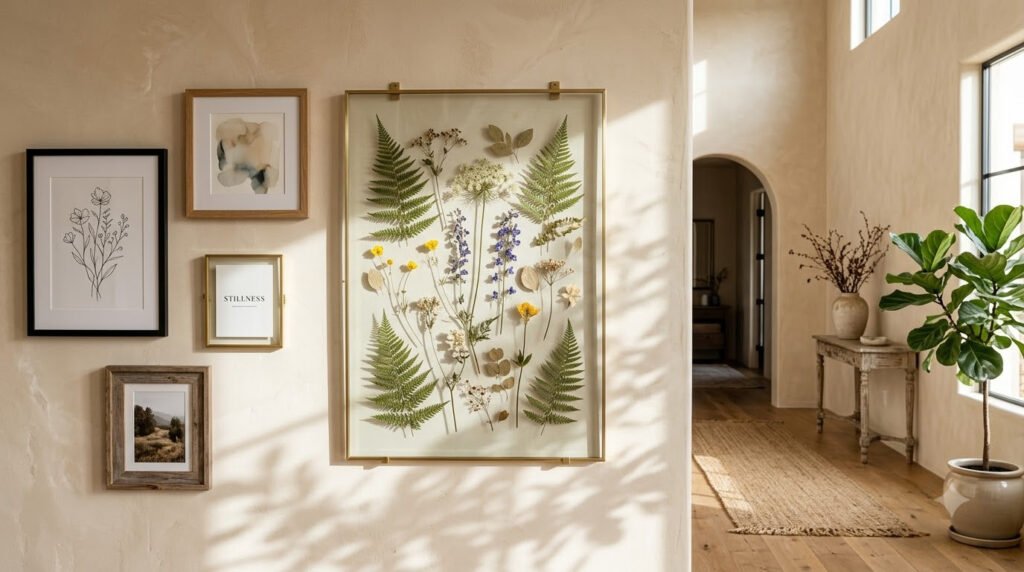
Step 3: Arranging and Framing
Once your botanical are completely dry and papery, open your floating glass frame.
Wipe the glass clean of any fingerprints using a microfiber cloth. Arrange your pressed leaves inside the frame. Because the glass is double-sided, you can play with negative space, letting a delicate stem trail off to one side for that intentional, wadi-Sabin look.
Snap or clamp the frame shut, ensuring the leaves are securely trapped between the glass panes without slipping.
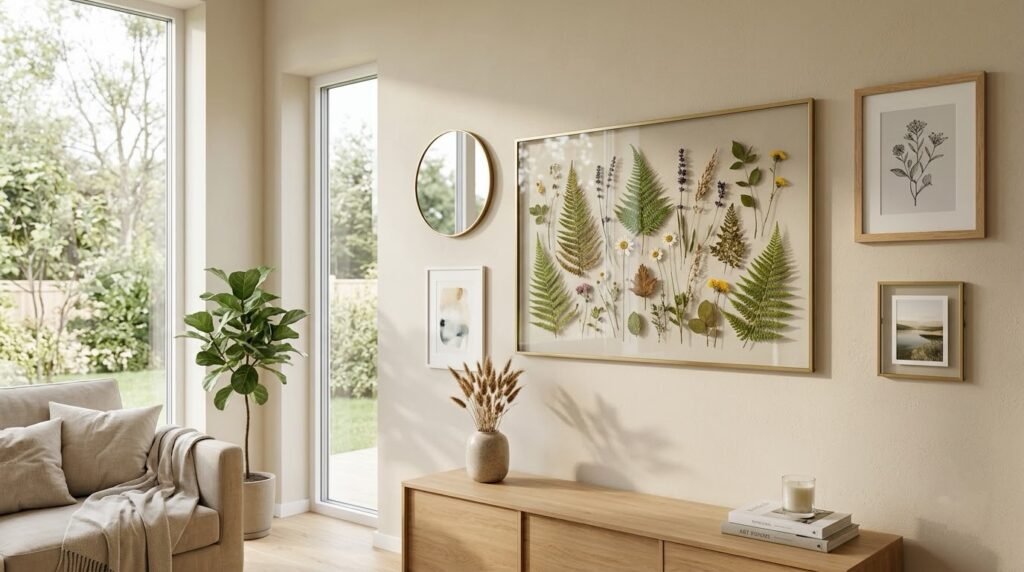
Styling Your Botanical Frames
To get that true designer look, do not just hang one small frame alone on a massive wall.
Hang a trio of matching floating frames in a clean, vertical line, or pair a large botanical frame alongside your textured canvas art. They look particularly stunning when hung above a neutral entryway console or in a serene, clutter-free bedroom.
Pingback: 5 Aesthetic Craft Room Ideas for Creative Inspiration