
If you have been keeping up with interior design trends, you know that “fluted” and “ribbed” textures are everywhere right now. From massive kitchen islands to bathroom vanities, this vertical ribbed detailing adds incredible architectural interest and a bespoke, custom-built feel to any space.
One of the most popular ways to bring this trend into your home is through a fluted cylinder side table. However, if you look at modern high-end retailers, these solid wood tables routinely cost upwards of $400 to $600.
What if you could build one yourself in a single afternoon for under $40, with absolutely no power tools required? This incredibly easy DIY project is taking the internet by storm, and the results look identical to the luxury versions.

What You Will Need
The secret to this budget-friendly project is finding materials at your local hardware store that were never actually intended for furniture building.
- A Concrete Forming Tube: (Often sold under the brand name Quikrete). These are thick, incredibly sturdy cardboard tubes used for pouring concrete footings. An 8-inch or 10-inch diameter tube is perfect for a side table.
- Half-Round Wooden Trim (Dowels): You will need enough of these flat-backed wooden sticks to wrap entirely around the outside of your tube.
- A Round Wooden Top: You can buy per-cut round pine boards in the lumber section of the hardware store or at a local craft store.
- Construction Adhesive: A tube of heavy-duty glue like Liquid Nails.
- Wood Stain or Paint: Depending on your desired aesthetic.
Step 1: Prep and Measure
First, you need to determine how tall you want your side table to be. Standard side tables are usually around 18 to 22 inches tall. If you do not own a saw to cut the thick concrete tube, ask the employees at the hardware store to cut it to your desired height before you buy it. They are usually happy to help!
Next, measure your half-round wooden dowels and cut them to the exact same length as your tube. A simple hand saw or even a pair of heavy-duty gardening shears can easily cut through thin pine trim.

Step 2: The Glue Up
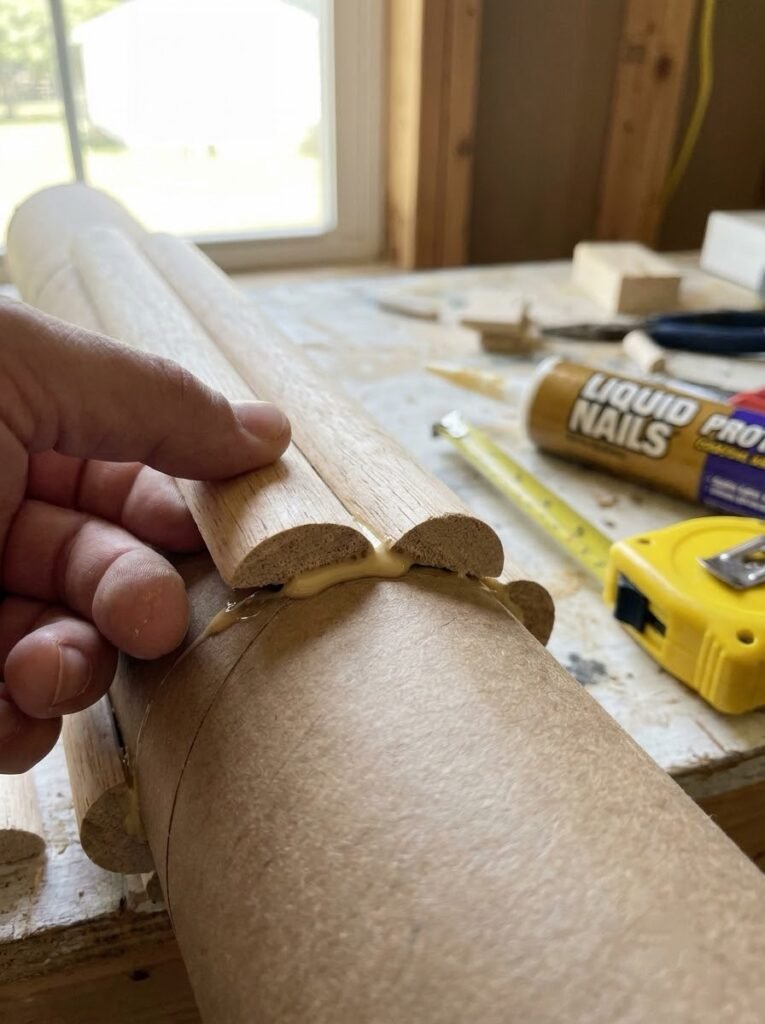
This is the most time-consuming part, but it is incredibly simple. Lay your tube flat on a table. Apply a thin, squiggly line of construction adhesive to the flat back of a wooden dowel.
Press the dowel firmly onto the tube, making sure the top and bottom edges are perfectly flush with the edges of the tube. Repeat this process, placing the next dowel tightly against the first one so there are no gaps. Continue gluing and pressing until the entire cardboard tube is completely wrapped in the wooden trim.
Use a few pieces of painter’s tape wrapped tightly around the outside of the dowels to hold everything in place while the glue cures overnight.
Step 3: Attach the Top
Once the glue on your fluted base has dried, stand the cylinder upright. Run a generous bead of construction adhesive around the top rim of the wooden dowels.
Carefully center your per-cut round wooden board on top and press it down. Place a few heavy books on top of the table to apply pressure and let it dry for another few hours.
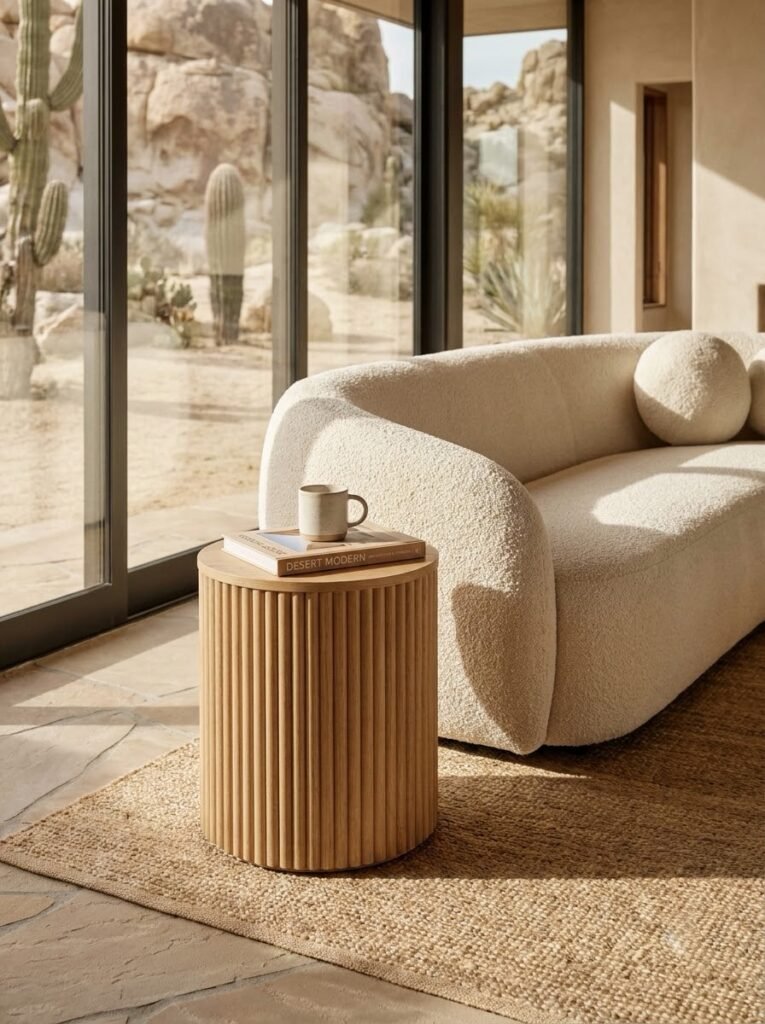
Step 4: Stain or Paint
Now you have a fully constructed, sturdy fluted table! To achieve that high-end designer look, you need to finish it.
If you want an organic, earthy aesthetic, use a rag to rub a warm walnut or oak wood stain into the pine dowels and the wooden top. If you prefer a modern, minimalist look, paint the entire table in a matte charcoal, deep olive green, or crisp white acrylic paint.
The Final Vibe
Place your new fluted side table next to your favorite reading chair or at the end of your sofa. Top it with a stack of aesthetic design books, a small trailing indoor plant, or your morning cup of coffee. No one will ever guess that this heavy, architectural, designer-looking piece was made out of a cardboard tube and some glue!
Pingback: How to Make an Air-Dry Clay Vase for Modern Minimalist Decor