
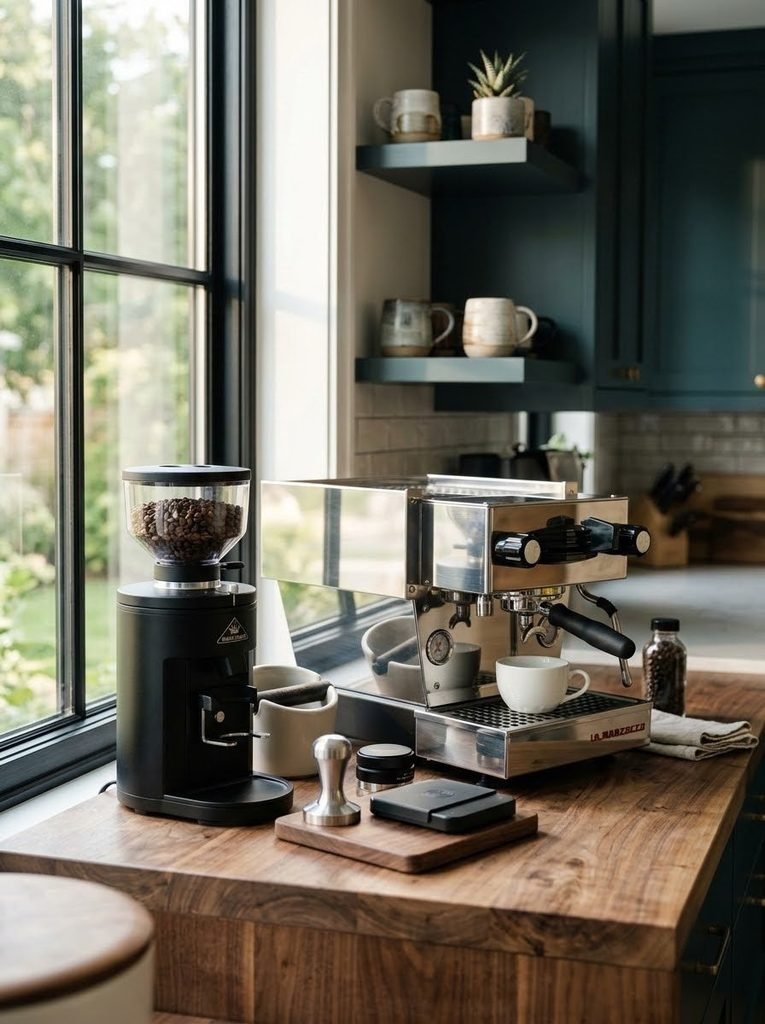
A beautifully engineered modern home espresso bar setup on a wooden kitchen counter.
Building a dedicated coffee space is an incredibly rewarding weekend project for any enthusiast. However, achieving that perfect morning extraction requires much more than just buying expensive beans and shiny equipment. Because the brewing process is highly mechanical, poor spatial planning will quickly lead to a frustrating, messy routine.
Consequently, you will have the perfect, freshly roasted batch ready for your new station. Let’s explore five actionable steps to engineer your ultimate coffee corner today.
1. Calibrate Your Grinding Station for Your Home Espresso Bar Setup
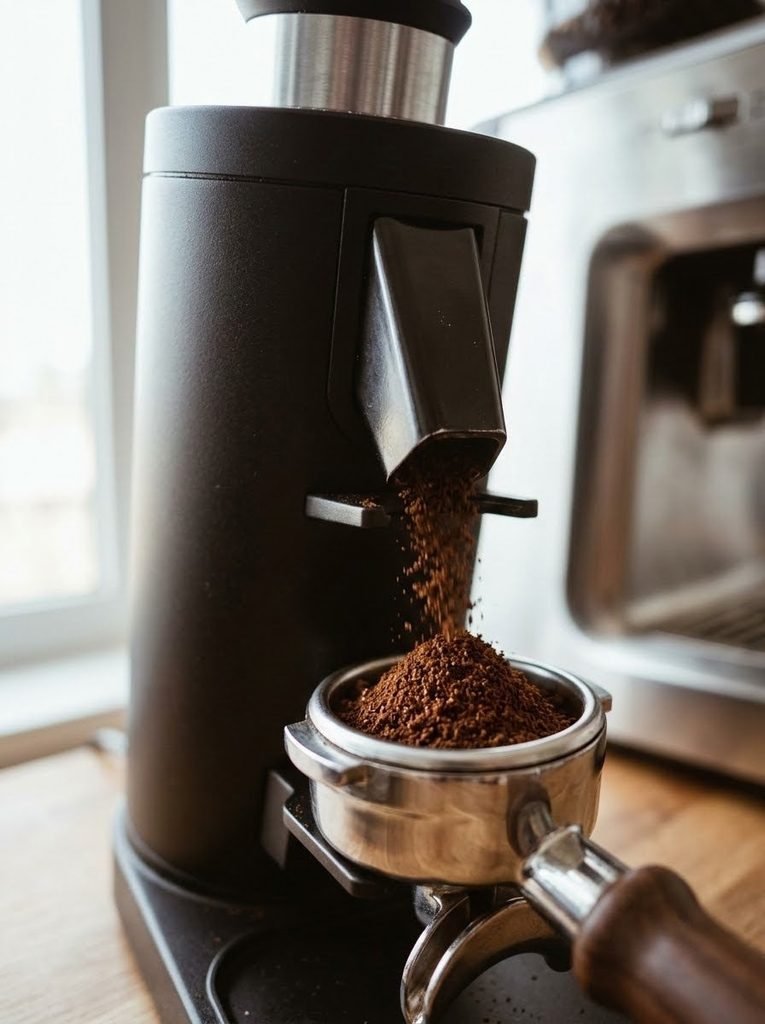
A calibrated burr grinder dispensing fresh coffee for a home espresso bar setup.
First and foremost, your grinder is the absolute most important piece of equipment you own. Because true espresso requires microscopic particle precision, a high-quality burr grinder is completely non-negotiable. Therefore, you must dedicate a specific, easily accessible zone just for grinding and dosing your beans.
Minimizing Grind RetentionFurthermore, static electricity can cause old coffee grounds to stick stubbornly inside the grinder chute. To solve this frustrating issue, employ the “Ross Droplet Technique” by lightly spritzing your whole beans with water before grinding. As a result, you will experience zero static cling and maintain a much cleaner, more precise workspace.
2. Engineer a Level Tamping Zone in Your Home Espresso Bar Setup
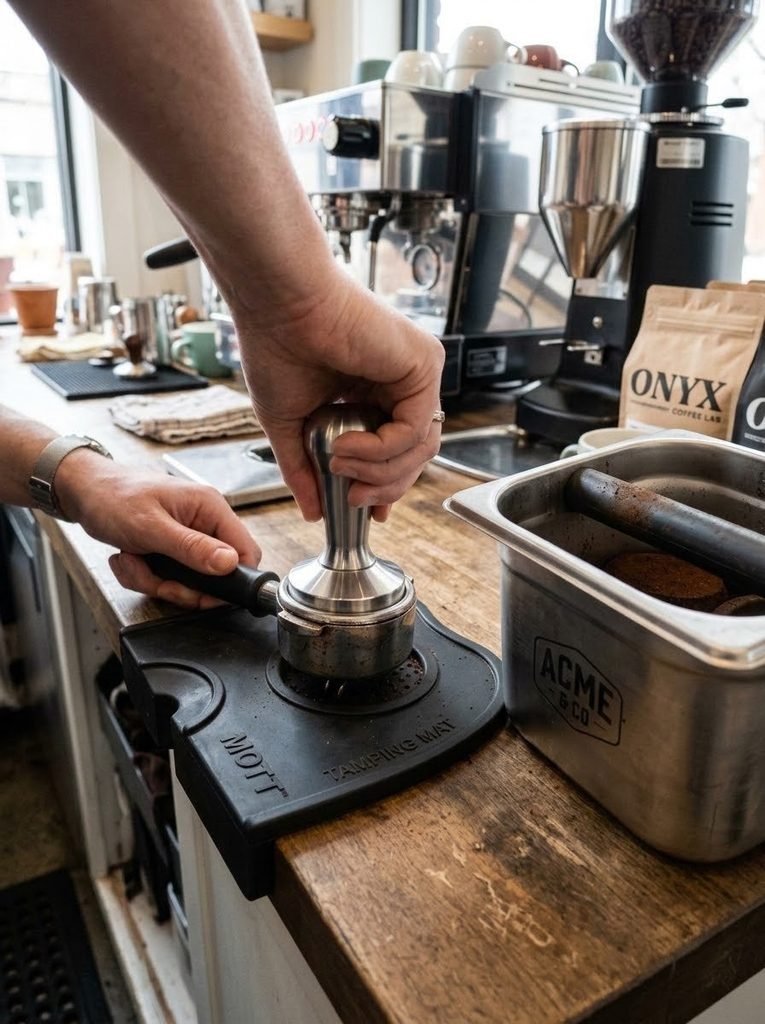
A thick silicone mat providing a level tamping zone for a home espresso bar setup.
Once your beans are perfectly ground, you need a sturdy, highly level surface for tamping the portafilter. Pressing unevenly leads to immediate water channeling, which ultimately ruins the delicate flavor of your shot. Because of this mechanical requirement, investing in a thick silicone tamping mat is a crucial engineering step.
Organizing Your Espresso PucksAdditionally, you will need a highly durable knock box placed directly adjacent to your new tamping mat. This strategic placement allows you to rapidly discard used espresso pucks without dripping dirty water across your floor.
3. Optimize Your Machine’s Water Filtration
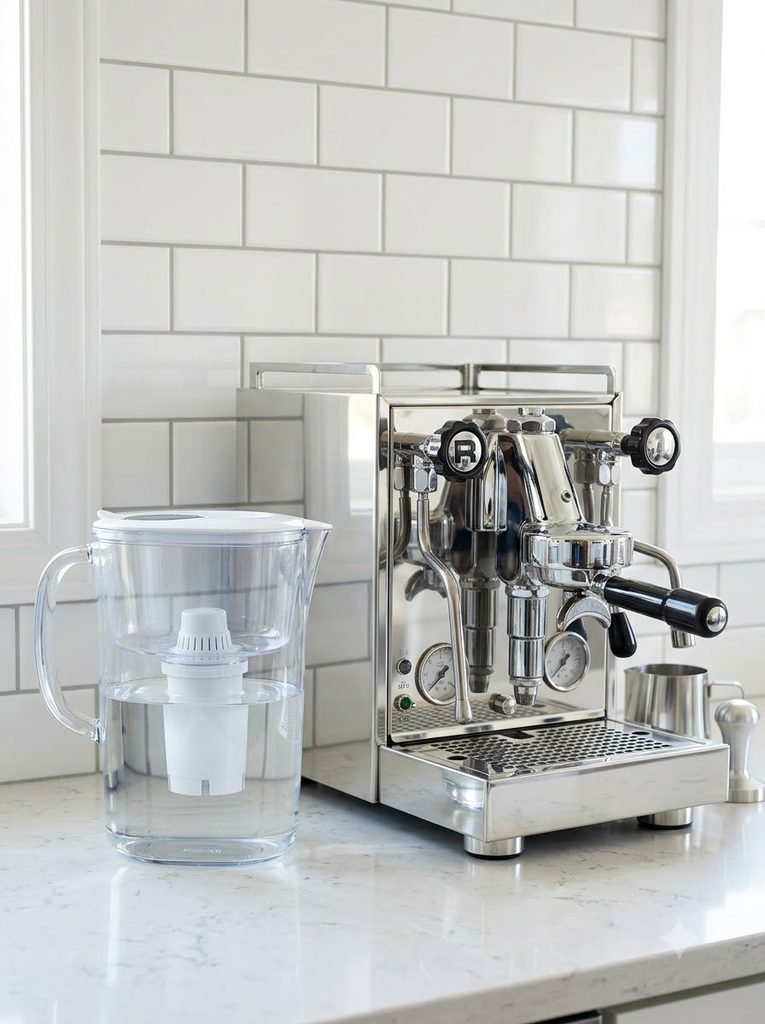
A glass water filtration pitcher optimizing water quality for an espresso machine.
Surprisingly, a standard shot of espresso is composed of nearly 98 percent water. Therefore, if your local tap water tastes highly chlorinated or metallic, your expensive coffee will inevitably taste terrible. Furthermore, hard water causes massive, destructive scale buildup inside your machine’s delicate copper boilers.
Plumbing versus PitchersFor a truly engineered permanent solution, consider plumbing a direct water line equipped with an inline filtration system. However, if you are currently renting, a high-quality countertop filter pitcher works just as beautifully. Ultimately, utilizing properly filtered water protects your financial investment and guarantees a sweet, balanced flavor profile.
4. Arrange Your Milk Steaming and Pouring Tools
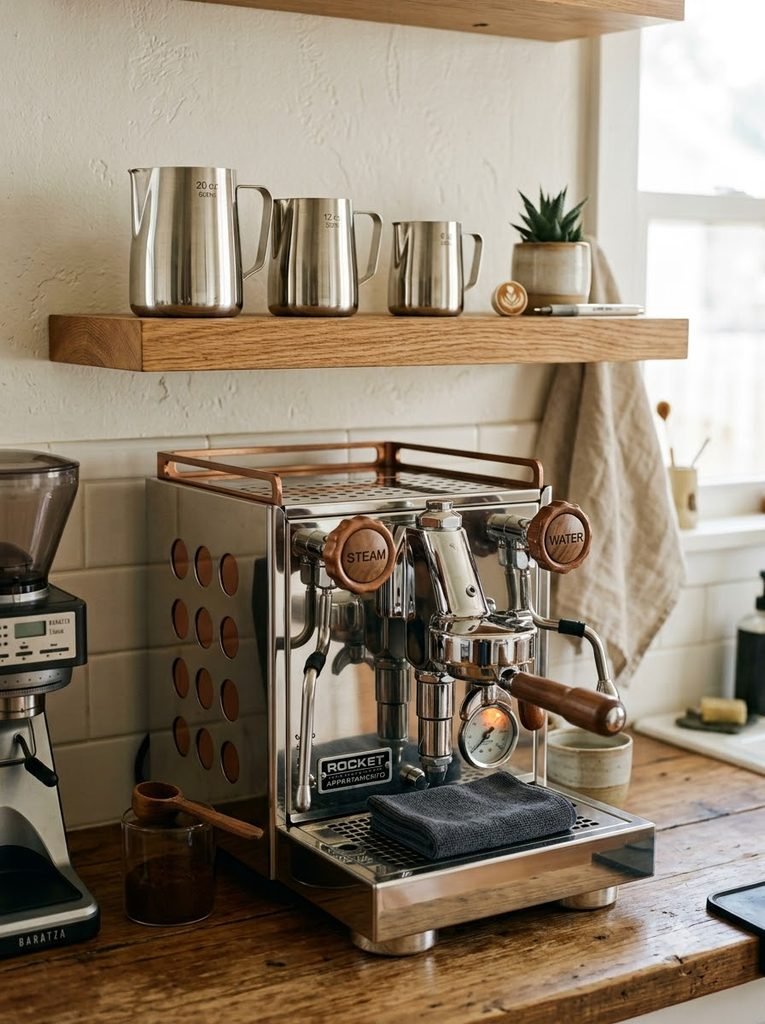
Stainless steel milk frothing pitchers arranged neatly on a floating shelf.
After successfully pulling your shot, milk steaming is the very next critical phase of the morning workflow. Because proper milk texturing happens rapidly, your frothing pitchers and latte art tools must be immediately ready. Consequently, storing these metal pitchers on a floating shelf directly above the machine saves highly valuable counter space.
Microfiber Cloth PlacementMoreover, maintaining a perfectly clean steam wand is vital for both hygiene and proper milk aeration. Always keep a dedicated, damp microfiber cloth resting directly on your machine’s stainless steel drip tray. As a result, you can instantly purge and wipe the wand clean before the hot milk bakes onto the metal.
5. Showcase Your Ceramic Mugs and Artisanal Syrups

Ceramic mugs and artisanal syrups beautifully displayed in a coffee corner.
Finally, the visual aesthetic of your coffee corner is just as important as the underlying mechanics. For instance, arranging your favorite thick ceramic cups directly on top of the espresso machine keeps them wonderfully warm. Similarly, installing a small tiered display for your artisanal syrups adds a beautiful, professional cafe touch.
Creating the Ultimate Cafe VibeIn addition to the hardware, you can easily elevate the room’s ambiance by incorporating warm LED strip lighting under your cabinets. This subtle lighting addition makes brewing coffee at 6 AM feel like a truly luxurious daily ritual. If you want to expand your morning menu even further.
Transforming a basic kitchen corner into a highly functional home espresso bar setup is immensely satisfying. Because you have thoughtfully engineered the physical workflow, every single step feels intuitive, fluid, and professional. Ultimately, this level of precision leads to a far superior, cafe-quality cup of coffee every single day. Take the time this weekend to rearrange your gear, and watch your morning routine completely transform!