
When it comes to styling a home, the smallest details often make the biggest impact. If you look at any high-end interior design magazine or luxury boutique catalog, you will notice a common theme across coffee tables, nightstands, and kitchen counters: sculptural, neutral catchall trays. These pieces anchor clutter, create visual organization, and add a heavy, organic element to a room.
Creating a DIY plaster tray is an easy way to add a stylish touch to your coffee table. Mix the plaster slowly and pour it into your mold carefully. Let the tray dry complete before removing it from the mold. Once dry, smooth the edges and add a simple finish to make it look beautifully.Place the plaster tray on a flat surface and allow it to dry properly. After removing it from the mold, sands the edges gently to create a smooth finish. Finally, add a protective coating and let it dyed completely before placing it on your coffee table.
However, shopping for authentic artisan concrete or stone trays at boutique retailers can easily set you back $80 to $150 for a simple piece of decor. Fortunately, you do not need to empty your wallet to achieve that heavy, stone-like designer look. With a simple mold, some basic casting material, and a little bit of creativity, you can craft your own custom luxury tray at home for less than $10.
This comprehensive, step-by-step guide will walk you through creating a stunning, modern plaster tray that looks straight out of a high-end designer showroom.
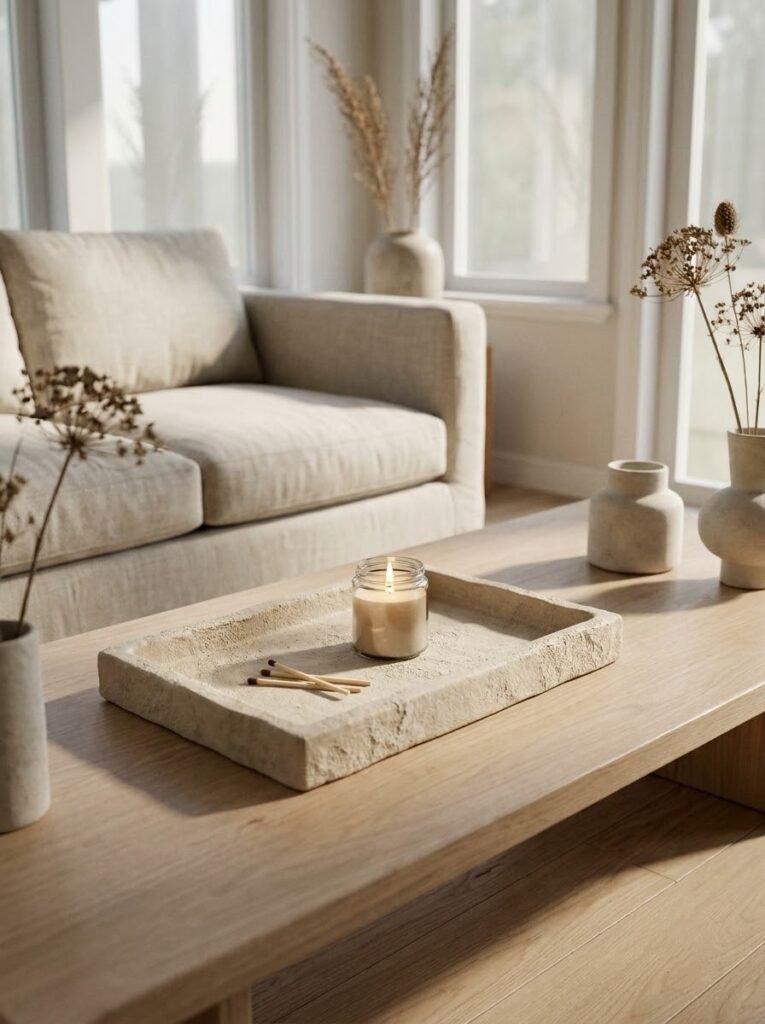
What You Will Need
Before you begin your project, gather your materials. You will find that most of these items are easily accessible at your local hardware store or craft shop:
- Plaster of Paris or Joint Compound: Plaster of Paris sets quickly and hardens like stone, while joint compound offers a smoother, more tactile finish. Both work brilliantly depending on your desired texture.
- A Silicone Mold or Container: A shallow baking dish, a plastic takeout container, or a flexible silicone tray mold to act as the form.
- Cooking Spray or Vaseline: Essential for greasing the mold so your dry plaster pops out effortlessly.
- Fine-Grit Sandpaper: To smooth out any rough edges and imperfections once the tray has cured.
- Acrylic Paint or Tint: A tube of raw umber, warm beige, or charcoal acrylic paint if you want to tint your plaster away from stark white.
- Matte Clear Sealer: To protect your finished tray from moisture and dust.
Step 1: Preparing and Greasing Your Mold
The mold you choose will dictate the final shape of your tray. If you want a clean, rectangular look, use a shallow plastic container. If you prefer soft, rounded edges, a silicone baking mold is your best option.
Before mixing any materials, take a paper towel and apply a very thin, even layer of cooking spray or Vaseline to the inside of your mold. Do not skip this step! Plaster expands slightly as it cures and will bond permanently to unreleased plastic or glass, ruining your mold and your project. A light layer of grease ensures a seamless release once dry.
Step 2: Mixing the Plaster to the Perfect Consistency
In a disposable mixing bowl or bucket, combine your Plaster of Paris with water following the manufacturer’s instructions on the package. As a general rule of thumb, you want a consistency similar to thick pancake batter or heavy cream—not too runny, but smooth enough to pour easily into every corner of the mold.
If you want a solid, stone-colored tray rather than stark white, add a few drops of your beige or gray acrylic paint directly into the water and stir it thoroughly before adding the dry plaster. This ensures an even, earthy hue throughout the entire piece rather than just a surface coat.
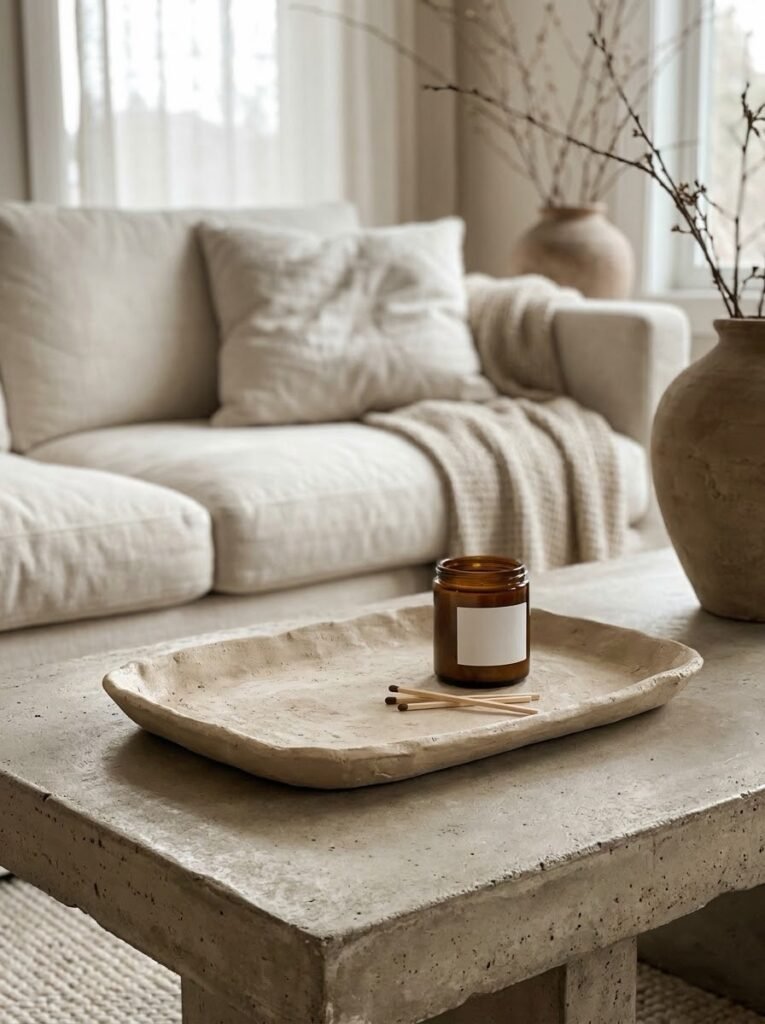
Step 3: Pouring and Eliminating Air Bubbles
Carefully pour your mixed plaster into the prepared mold. As it settles, you will likely notice tiny air bubbles rising to the surface.
To prevent unsightly holes and pitting in your final tray, gently tap the sides of your mold with your fingers or lightly lift and drop the mold onto your work surface a few times. This vibration forces trapped air bubbles to the top, ensuring a smooth, professional finish on the bottom and sides of your tray.
Step 4: Curing and Demolding
Patience is vital during the curing process. Allow the tray to sit completely undisturbed in a well-ventilated area for at least 24 hours. While Plaster of Paris may feel warm and hard to the touch after just an hour, it retains internal moisture that needs time to evaporate.
Once the 24 hours have passed, gently flex the sides of your mold and invert it. Your custom tray should slide right out. If it feels stuck, let it rest for another few hours before trying again.
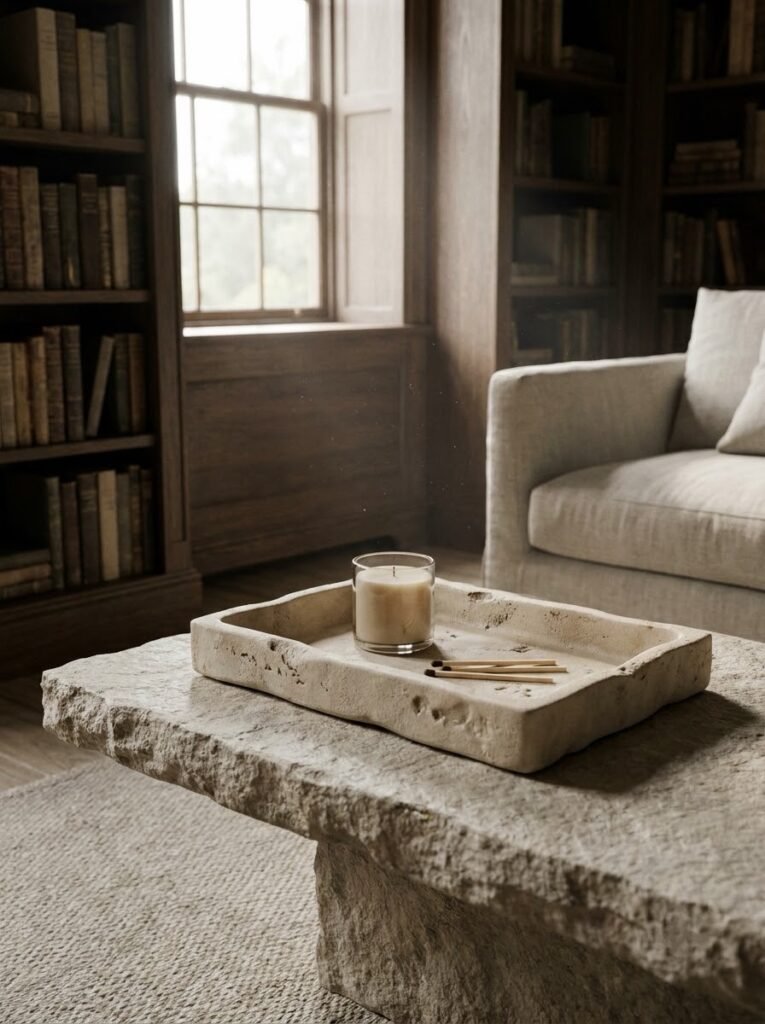
Step 5: Sanding and Sealing for a Luxury Finish
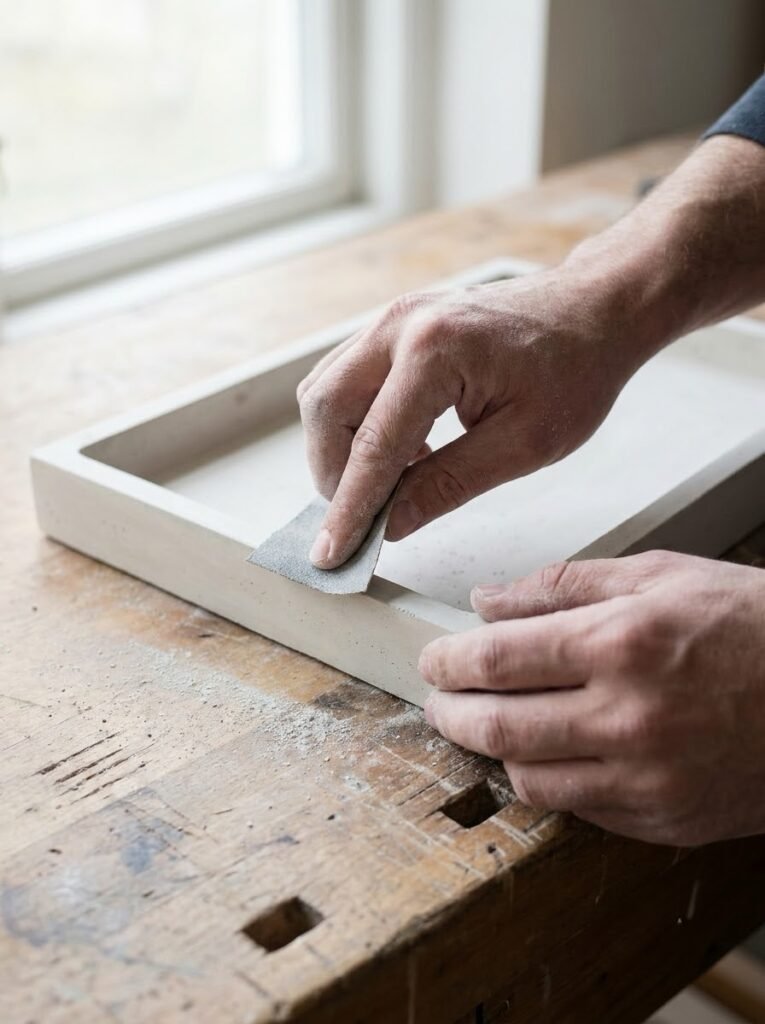
When your tray is freshly out of the mold, inspect the edges. Use a fine-grit sandpaper to gently smooth out any sharp ridges, drips, or minor surface flaws until the piece feels silky and refined.
Because plaster is naturally porous, you must seal it to protect it from dust, water rings, and stains. Apply two thin coats of a matte clear sealer or acrylic varnish over the entire surface, allowing it to dry completely between coats. This step gives the tray an authentic, sealed-stone feel.
Styling Your New Tray
Place your finished DIY tray on your living room coffee table. Style it with a minimalist amber-glass candle, a small stack of design books, or a tiny ceramic dish for your keys. It brings an instant touch of organic, high-end design into your space with zero buyer’s remorse!